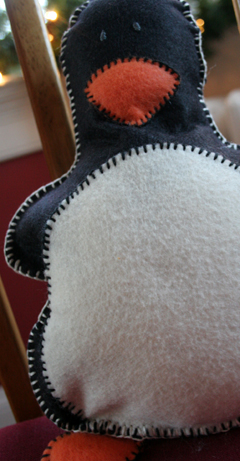
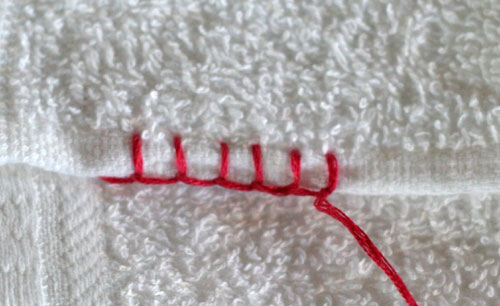
This is a great stitch to border items such as blankets (go figure), shirt collars, and also joining items together. The blanket stitch was the only stitch used to piece together this felt penguin.
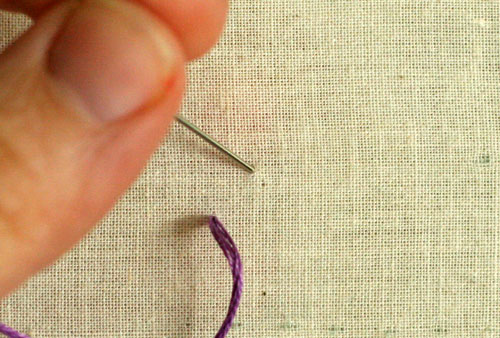
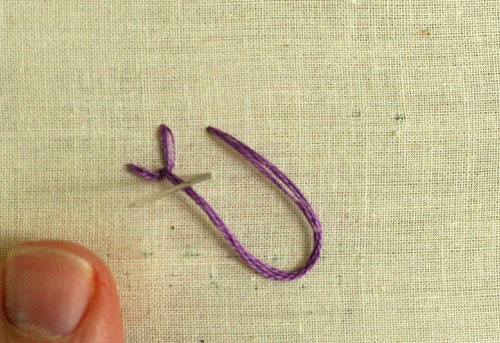
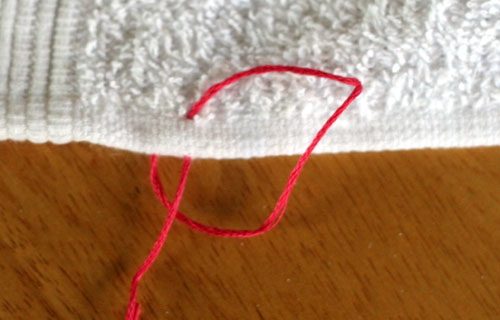
You’ll begin by bringing your needle up at the base of your work, or where you’ll need it to be lined up (at A). Next, you’ll bring your needle down at B, diagonal to point A, and then up at C, which will be beside point A (about 1/4″ away). You’ll need to have the thread looped underneath your needle when you come up at C, or else this stitch won’t work.
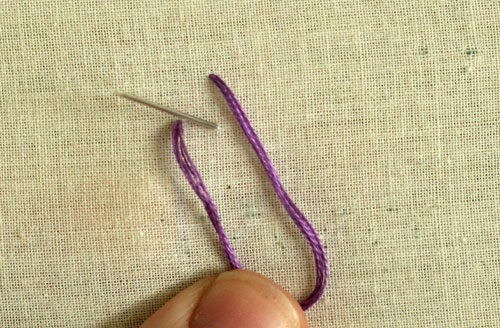
Then you’ll pull the thread taut and you have a backwards “L”.
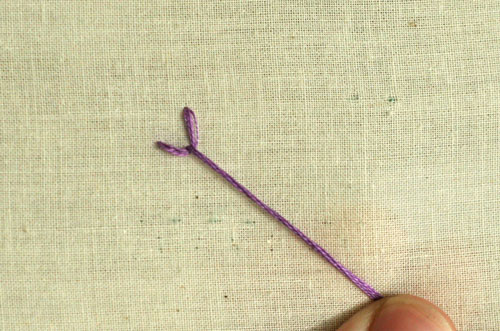
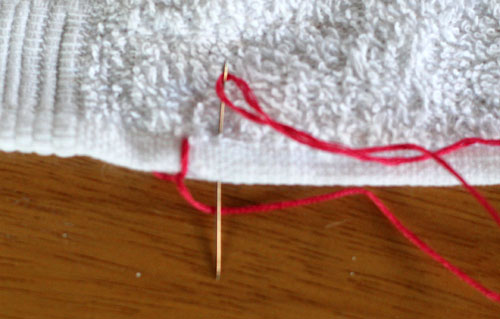
You’ll do this over and over until you get to the end of your edge or completed the length that you need.
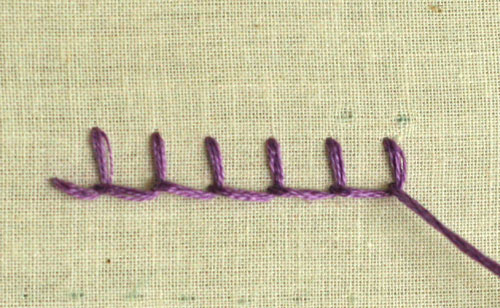
When you’re done, you’ll take the needle through on the opposite side of where you came up for the last time, planting that stitch and leaving your thread behind your work.

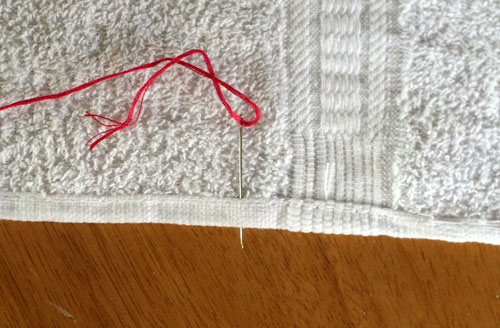
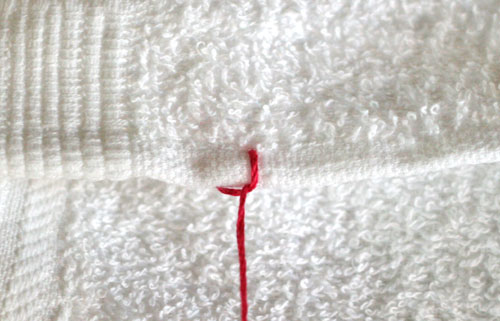
When doing this stitch on the edge of a garment or piece of fabric, you’ll execute in the same fashion, starting on the backside of the fabric. Take the needle and go down through the hem vertically (at A), turn your fabric over and go down at B (diagonal to A) and through the hem vertically, like you did at A.
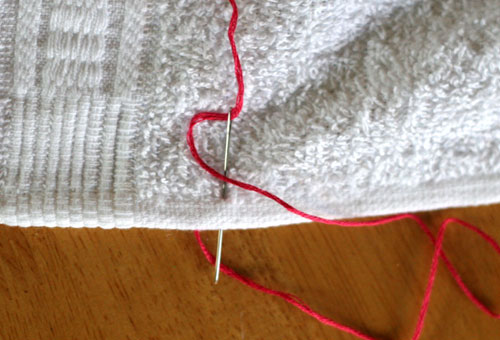
Make sure that your thread is looped behind/underneath the needle as you pull the thread taut.
Continue until you reach the end, planting your stitch when you’re done.
Selamat MencubA!!

Aku x paham T____T
ReplyDeleteAdekah aku bengap? Sila kesian skrg.
auh jis...ko kene try dulu pegang jarum...wat pelan2..leh tue..nnt jadila..try je dulu kat kain mane2..
ReplyDelete